HPC System Setup
- Genomics/Bioinformatics requires computing resources. Specifically, CPUs, RAM, and a lot of disk space. Options: workstation, HPC, or cloud computing.
- A server is simply a program running on a remote (different) computer with which you can interact over the internet. You send it instructions/code, it runs the code and sends a response. This way you can use your laptop to run very intensive code on a larger remote machine.
- For this workshop we are going to use compute infrastructure provided by Tec de Monterrey.
Get everyone on Tec HPC here: Link to Node/IP address assignments
Tec de Monterrey HPC System Setup
- Connect to the Tec Wifi <- This is important because otherwise you won’t be able to see the HPC compute nodes.
- Username:
radcamp.mty/ password is on the whiteboard
- Username:
- Log in with ssh to your compute node IP
- The format of the command is the same for all OS:
ssh admin1@<your_ip_address> - On Mac or Linux you can open a Terminal and type
ssh - On windows you should be able to open PowerShell and use
sshfrom there.- Windows gotcha: Settings > Apps > Optional features > Add a feature > search for OpenSSH Client and choose “Install”
- Username is
admin1for all compute nodes. Password is the same for all nodes.
- The format of the command is the same for all OS:
- Download and install miniconda
wget https://github.com/conda-forge/miniforge/releases/latest/download/Miniforge3-Linux-x86_64.shbash Miniforge3-Linux-x86_64.sh<- And follow the prompts
- Now log out with
exitand log back in and you should see your prompt change to have(base)at the beginning. - Install
gitso we can clone the ipyrad2 repositorysudo apt install gitthen type in your password
- Create a new conda environment and install all needed software
git clone https://github.com/eaton-lab/ipyrad2.git
cd ipyrad2
conda env create -f workshop_environment.yml -n ipyrad2
conda activate ipyrad2
You will not typically need to do this, but because ipyrad2 is still in development we will clone the repository and install it locally in developer mode so that if necessary we can quickly apply changes to address bug fixes.
# Install ipyrad2 in developer mode
pip install -e . --no-deps
Launch and access Jupyter lab web interface
- Set jupyter server password:
jupyter server password- I recommend to set this the same as your login password, for simplicity.
- Launch jupyter lab:
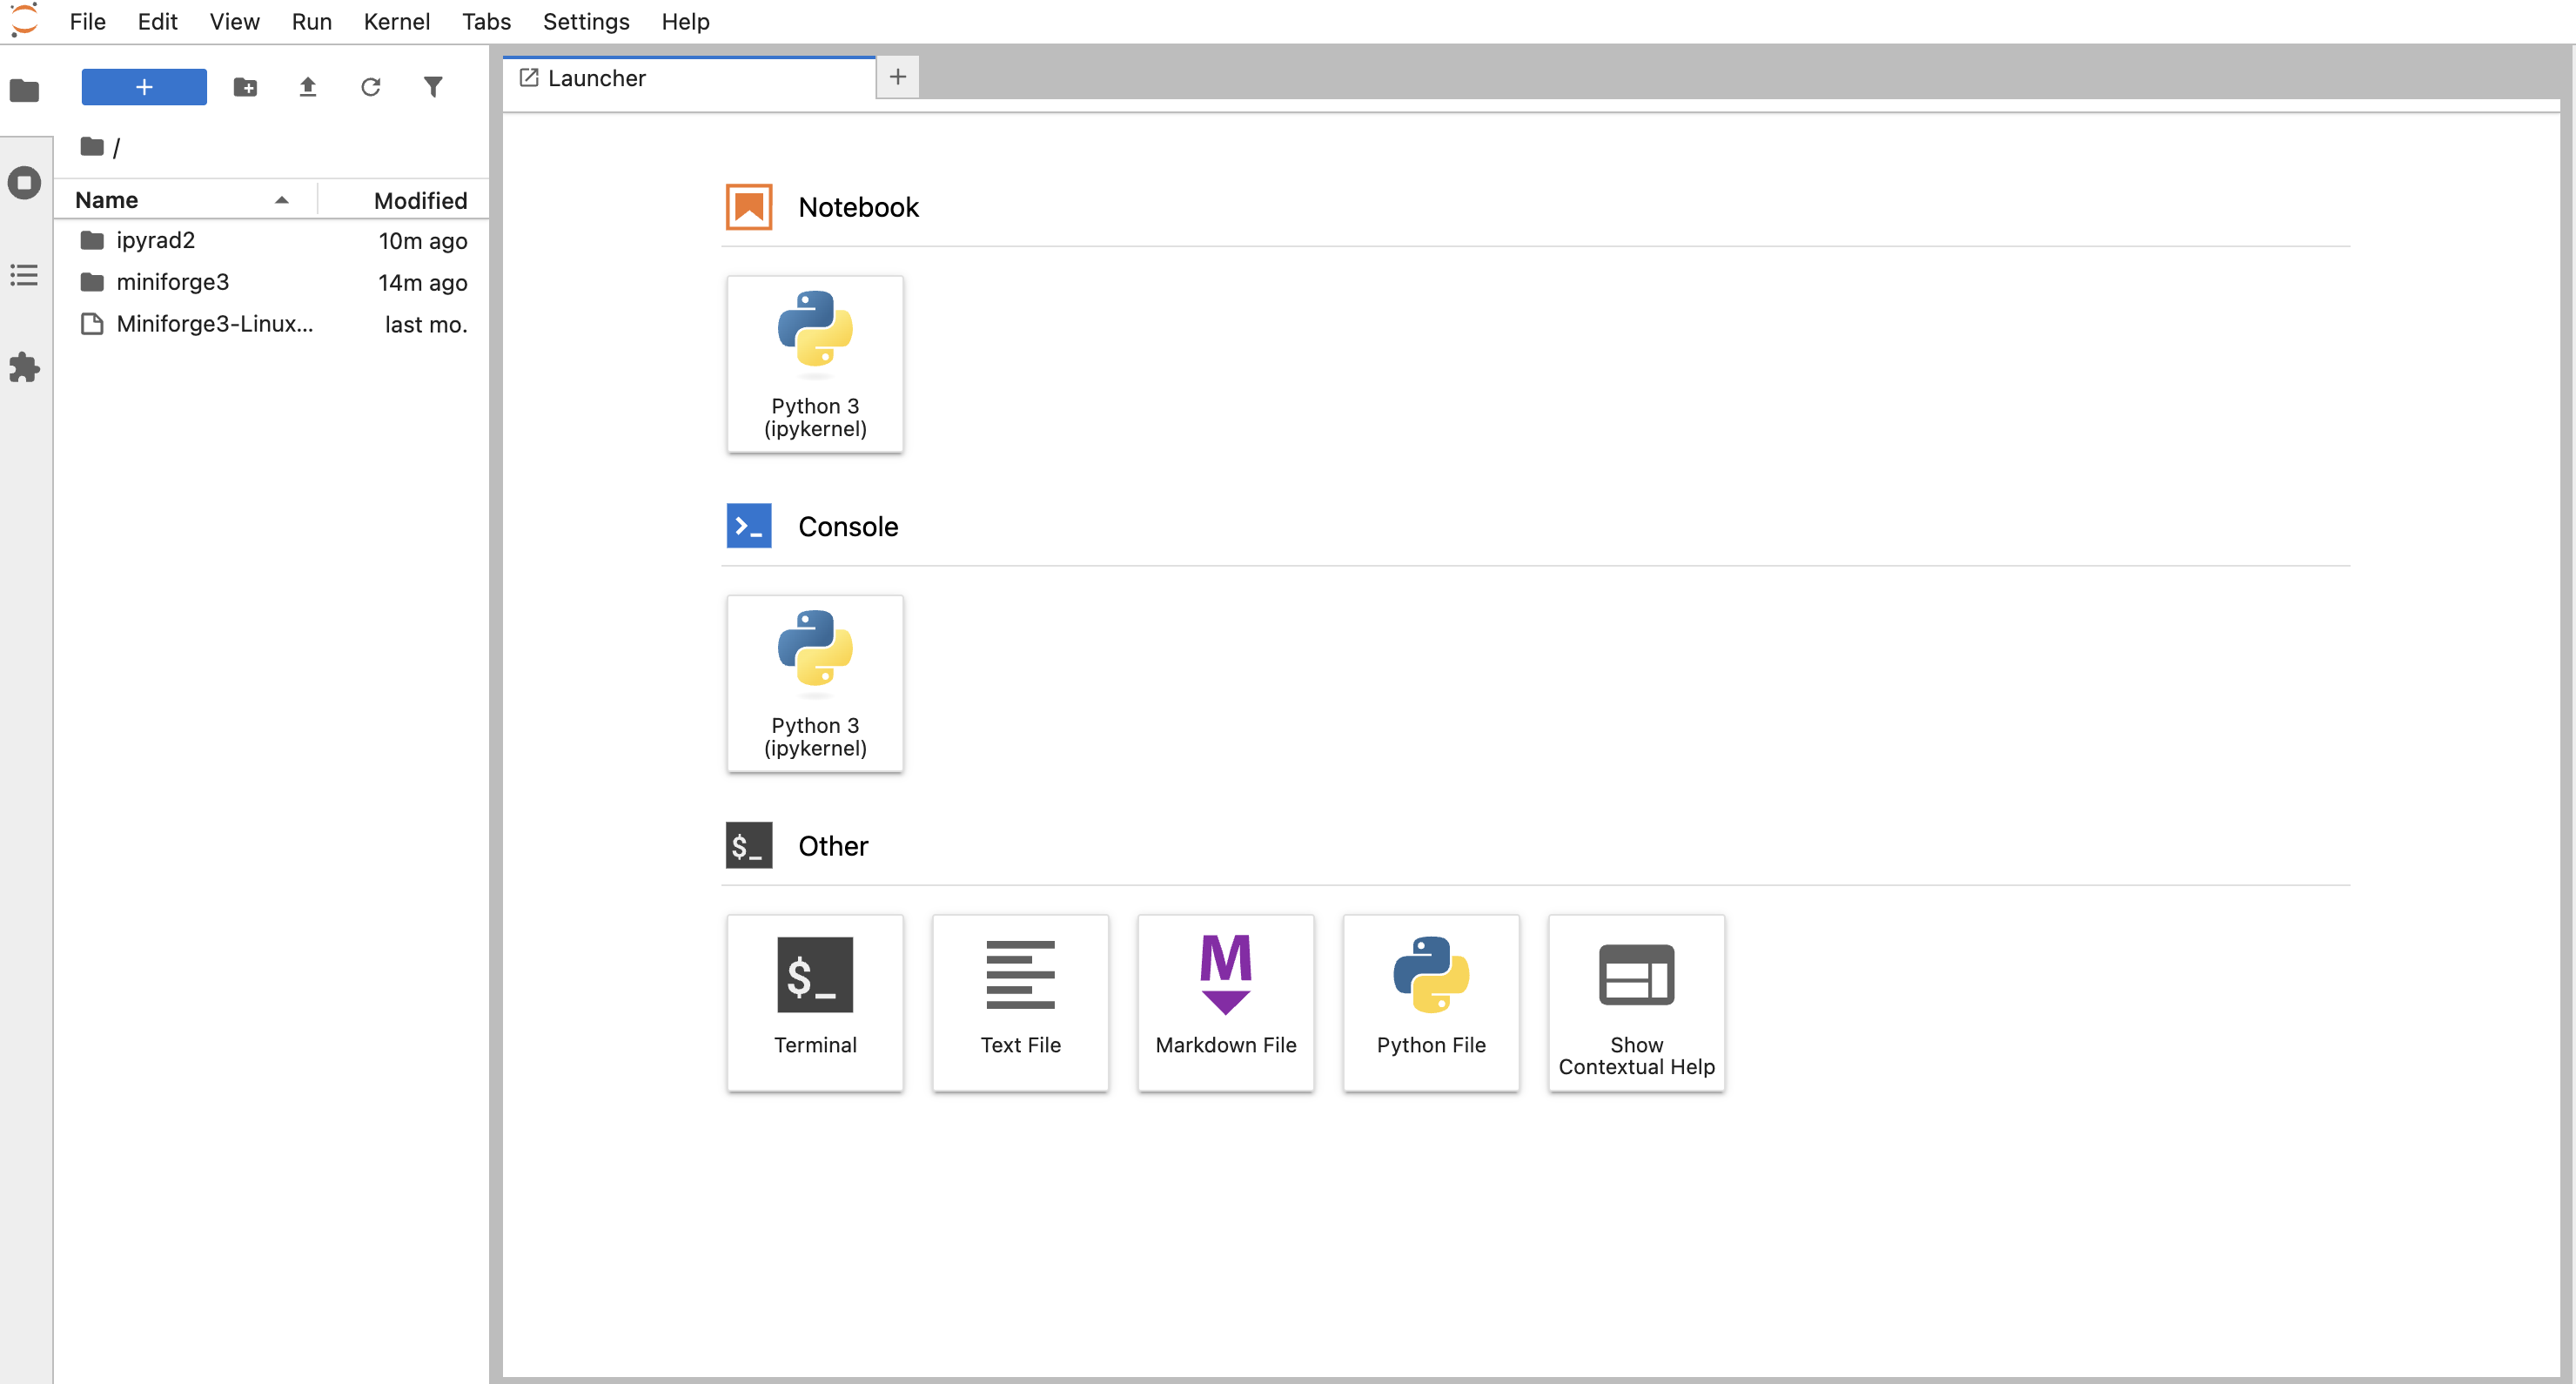
jupyter lab --ip="*" & - Access your jupyter lab instance at your personal node IP address
- Open a new browser tab. For me, my personal node is:
http://10.14.255.198:8888
- Open a new browser tab. For me, my personal node is:
You should see the jupyter lab web interface like this:
Accessing a command line interface on Tec HPC
Our first goal will be to use gain access to a command line interface to view RAD-seq data as way to become familiar with the format of the raw data that we will analyze, while also learning about basic command line programs.
## Example Code Cell.
## Create an empty file in my home directory called `watdo.txt`
$ touch ~/watdo.txt

## Print "wat" to the screen
$ echo "wat"
wat
Bash command line cheat sheet.
Take a look at the contents of the folder you’re currently in.
$ ls
To keep things organized, please create a new directory which we’ll be using
during this Workshop. Use mkdir. And then navigate into the new folder, using cd.
$ mkdir ipyrad-workshop
$ cd ipyrad-workshop
- Unix tools: cd, ls, less, cat, nano, grep.
Web-based working environment: Jupyter Lab
Launching and accessing jupyter lab on your compute node